

This is a great lesson that I got from the blog Art Lessons for Kids. My 2nd graders have been spending the last few months discussing color. This lesson was a great way to review what we have learned. I definitely perked their interest when I told them we were making color wheel “pizzas.”
We started by tracing a circle on white tag board.
 Then we used a ruler and drew a line to split the circle in half. I was able to add some math in the lesson, at this point. Then I had them put a dot in the center. We drew and X, which split the circle into 6 segments aka “slices.” I found it worked best when I had the kids number their slices. We then talked about primary and secondary colors and colored our slices.
 Once they were finished coloring…the real fun began. I set up stations around the room of different “toppings” the kids could add to their pizza. There was felt, paper, foam shapes, pipe cleaners, glitter, feathers, and small pom poms.

It was neat seeing all the different ideas the kids came up with.

When students finished I took pictures of them pretending to take a bite out of their pizza. I had one student even cut out a bite…too funny. Then students put their pizza on the drying rack, aka “oven” to bake.


Lastly, to end the color unit with 2nd grade, we watched some chapters from Getting to Know Color in Art.


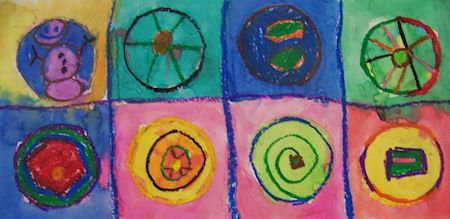
 I have to say that Kandinsky is probably my favorite artist. I had the opportunity in college to go to Munich, Germany and went to a small museum/ house that displayed his art. There were four rooms of Kandinsky art and I was blown away. I love his use of color and movement. So with that being said, I love teaching Kandinsky. I especially like sharing his Farbstudie painting.


